Showing posts with label Bloomin' Ice Drop. Show all posts

Sunday, January 14, 2018

Disney princess challenge

One of our Ice Drop Addicts members challenged us to tat an Ice Drop to represent a Disney princess.


I found these beads in my stash, and they reminded me of Elsa from Frozen.


I know it's not the right shad of blue, but I think granddaughter Sophia will love it!


I might have to make one for her sister Kara as well. They both love to stand in front of the t.v. and sing "Let It Go!"

Monday, December 11, 2017

Ooh!

What a day!


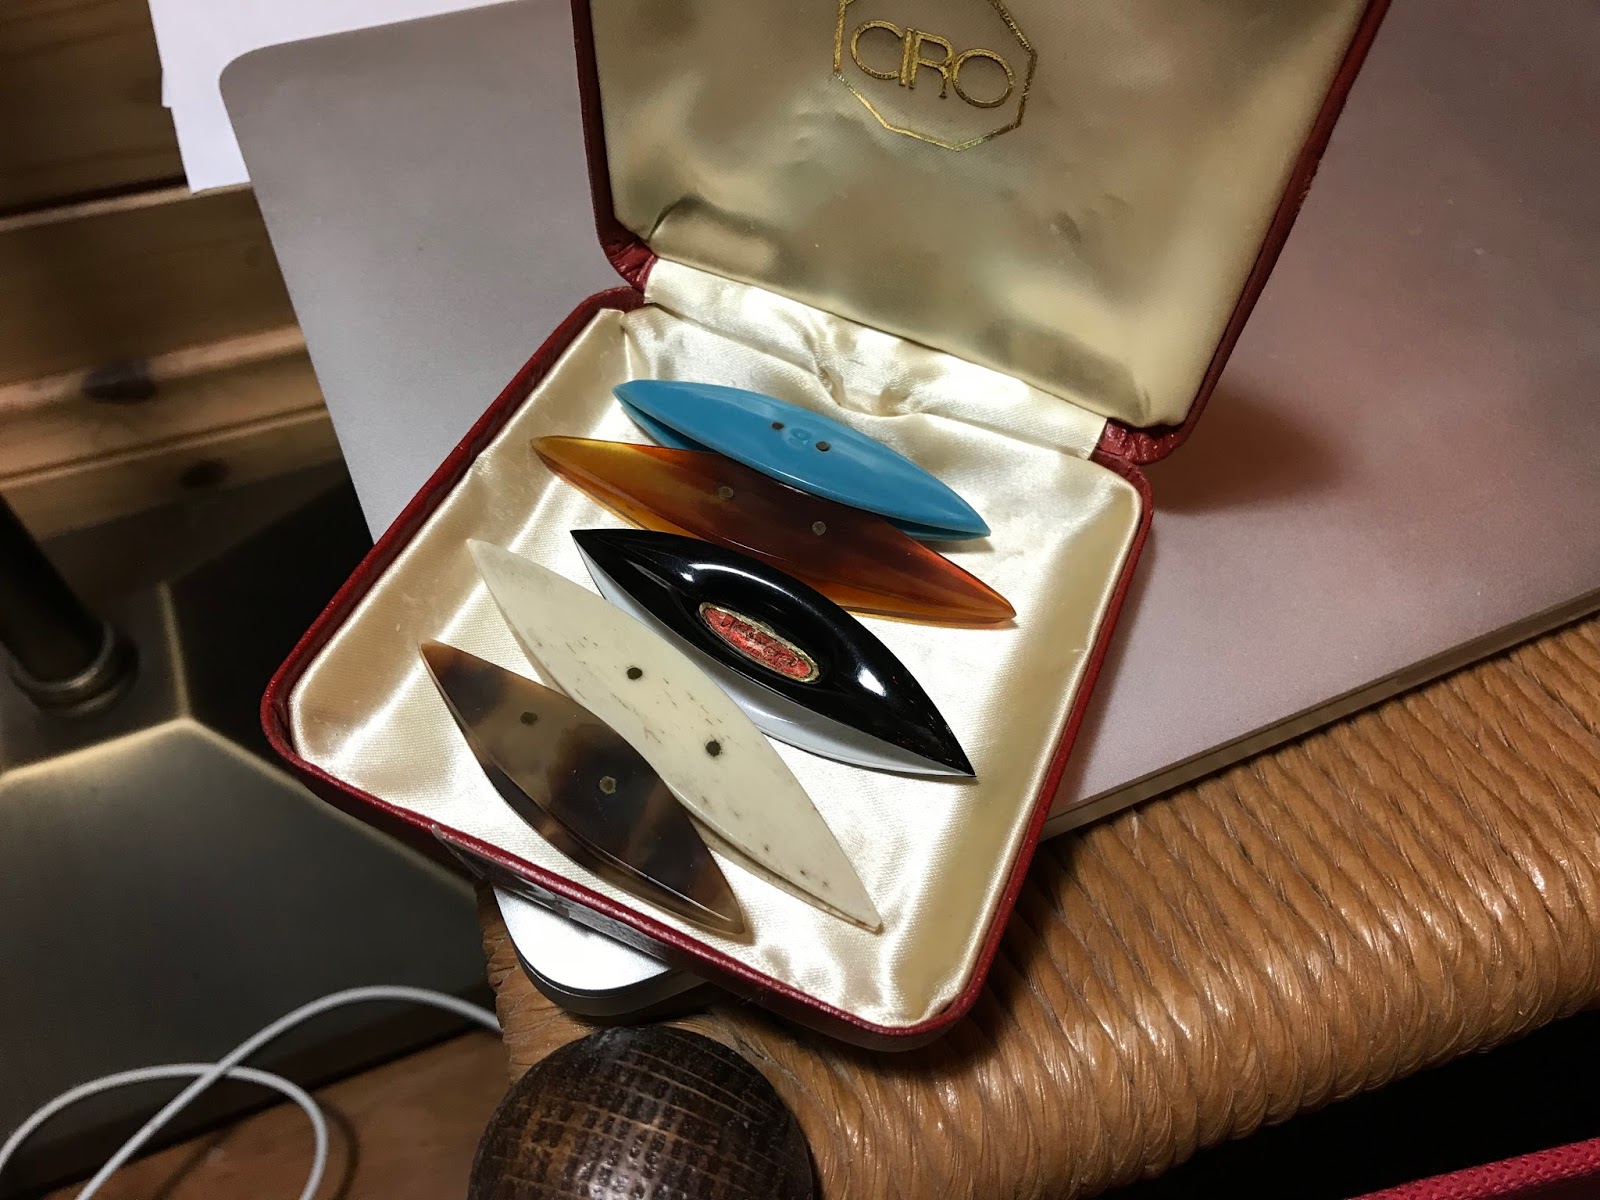
I picked up my mail at the post office today, and there was a packet of beautiful vintage shuttles that I had purchased from England! They're in wonderful condition, and I can hardly wait to try them out!


I was surprised that I had some time to tat today. My sub assignment was changed last minute, and it just happened to work out in my favor... I was able to tat while listening to high school students sing!


I had been carrying this Bloomin' Ice Drop with me for several days. I managed to finish it when I got home.


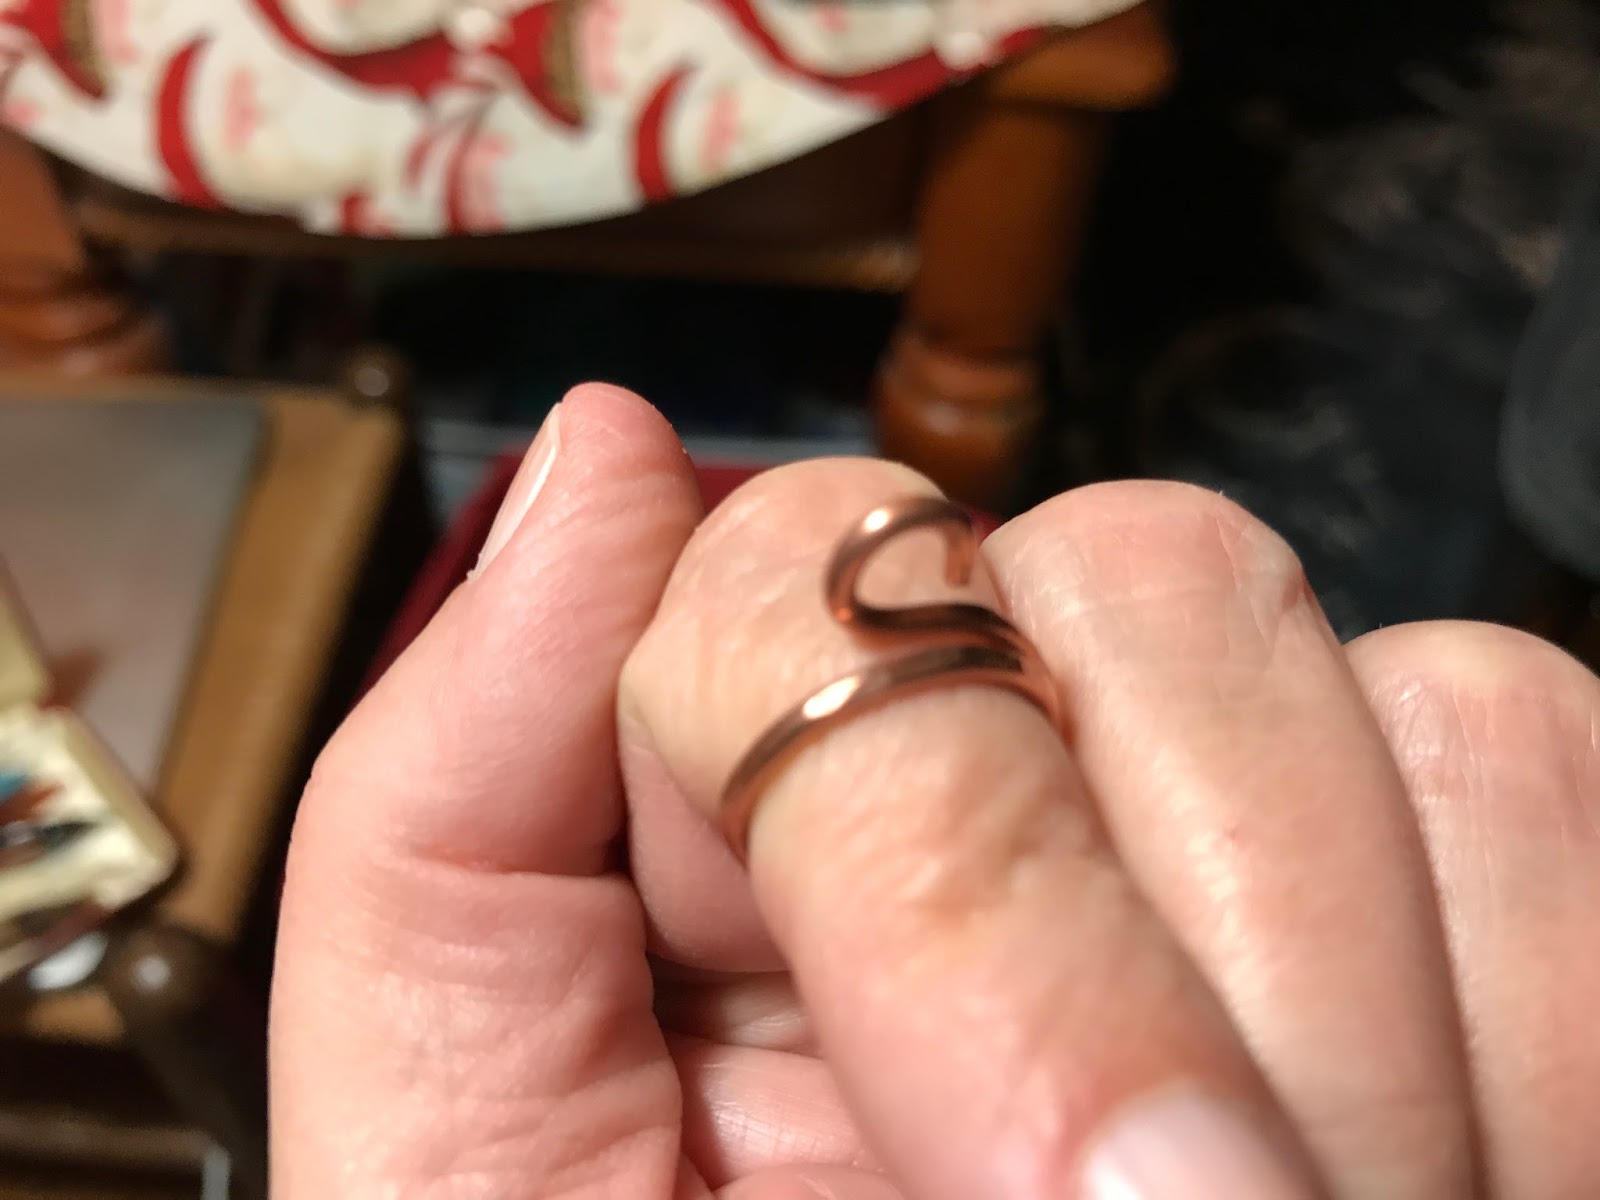
My pointer finger has been sore at times, and I saw a lady online with a tension ring. I haven't tried it yet, but I'm hoping this little copper ring from ItsVera will help when my finger gets sore.


Not sure which style would work better for me, I ordered two! I think I like the stability of the wider band, but I'll try them both and let you know how they work for me.

Tomorrow is another sub day, and I know that it will be jam packed. I do love working with kids!

Sunday, July 2, 2017

Another Bloomin' Ice Drop


I kind of like my new pattern! The only changes with this one are the glass gem and ribbon. It does take a bit longer to tat, probably double the time of the original Ice Drop, but I think it's worth the effort.


I just finished my latest band. This is Dots and Squares from page 18 of The Weaver's Inkle Pattern Directory by Anne Dixon. It's 1 3/8" wide by 72" plus about 8" of fringe. I'm very pleased with the way it turned out!

Saturday, July 1, 2017

Bloomin' Ice Drop

I couldn't post yesterday. I was too busy designing another Ice Drop! Honestly, I was so caught up in what I was doing, I didn't realize it was dinner time. Luckily, I had leftovers that warmed up quickly!


As I was working on my Spring Garden Ice Drop the other day, I got to thinking about how I could adapt it.


And now my little Spring Garden has bloomed!

Copy and past doesn't work very well with Blogger, but I still haven't figured out how to attach a PDF to my blog, so copy and paste will have to do:


Bloomin’ Ice Drop 2 shuttle pattern
Materials: 3/4” glass gem, size 20 Lizbeth thread (approximately 8 yards on shuttle 1, 4 yards on shuttle 2), two shuttles, 12” ribbon for hanger (optional)
vsp = very small picot --- = long picot

Round 1:
  •  Ring 4 vsp 4---4 vsp 4, reverse work.
  •  Chain 6 vsp 6, reverse work.
  •  Ring 4+4+4 vsp 4, reverse work.
  •  Continue creating rings and chains in this manner until there are 6 rings and 6
  •  sections of chain. On last ring, last picot is a join to the first picot of the first ring.
  •  Lock join last chain to base of first ring.
  •  Do NOT reverse work.

    Round 2:
  •  Chain 9, reverse work.
  •  Ring: 6+6, joining to vsp in chain on round 1, reverse work. Switch shuttles.
  •  Ring: 4-4. Switch shuttles. Do not reverse work.
  •  Chain 7, switch shuttles. Do not reverse work.
  •  Ring: 6-1--1-6, switch shuttles. Do not reverse work.
  •  Chain 7, reverse work.
  •  Ring: 6+6, joining to same vsp in chain on round 1 as first ring, reverse work.
  •  Switch shuttles
  •  Ring: 4-4. Switch shuttles. Do not reverse work.
  •  Chain 9, lock join to base of next ring.
  •  
     Do NOT reverse work.
  •  
    Continue in pattern to complete 6 pattern repeats. Reverse work.
page1image16168

After round 2, the piece should look similar to this. This is a good time to set the shape with a steam iron. I put my tatting between to layers of clean terry cloth wash cloths.

Round 3:
  •  Ring 6-6-6 (very small picots). Fold ring away from you toward center of work.
  •  Chain 8, lock join to base of next ring on round 1. Fold ring back up for joining
  •  next ring.
  •  Ring 6+6-6, joining to second picot of first ring. Fold rings away from you toward
  •  center of work.
  •  Continue in this manner until 5 rings and chains have been completed.

  •  On the sixth ring, 6+6, slip glass gem into place, join ring to first picot of first ring,
  •  6 ds. Hold domed side of glass gem away from you.
  •  Chain 8, lock join to base of first ring on round 1.

    Cut, tie, and hide ends. Use 12” of ribbon to create hanger or tat a hanger.