I've been asked several questions about my looms, so I decided I would post some pictures of the process.
When it got too hot for me to help out in the yard, I decided to warp my loom. The loom is from
HardMapleLooms on Etsy. The loom has some adaptations that Mom requested, and I find that they come in quite handy... more on that later.
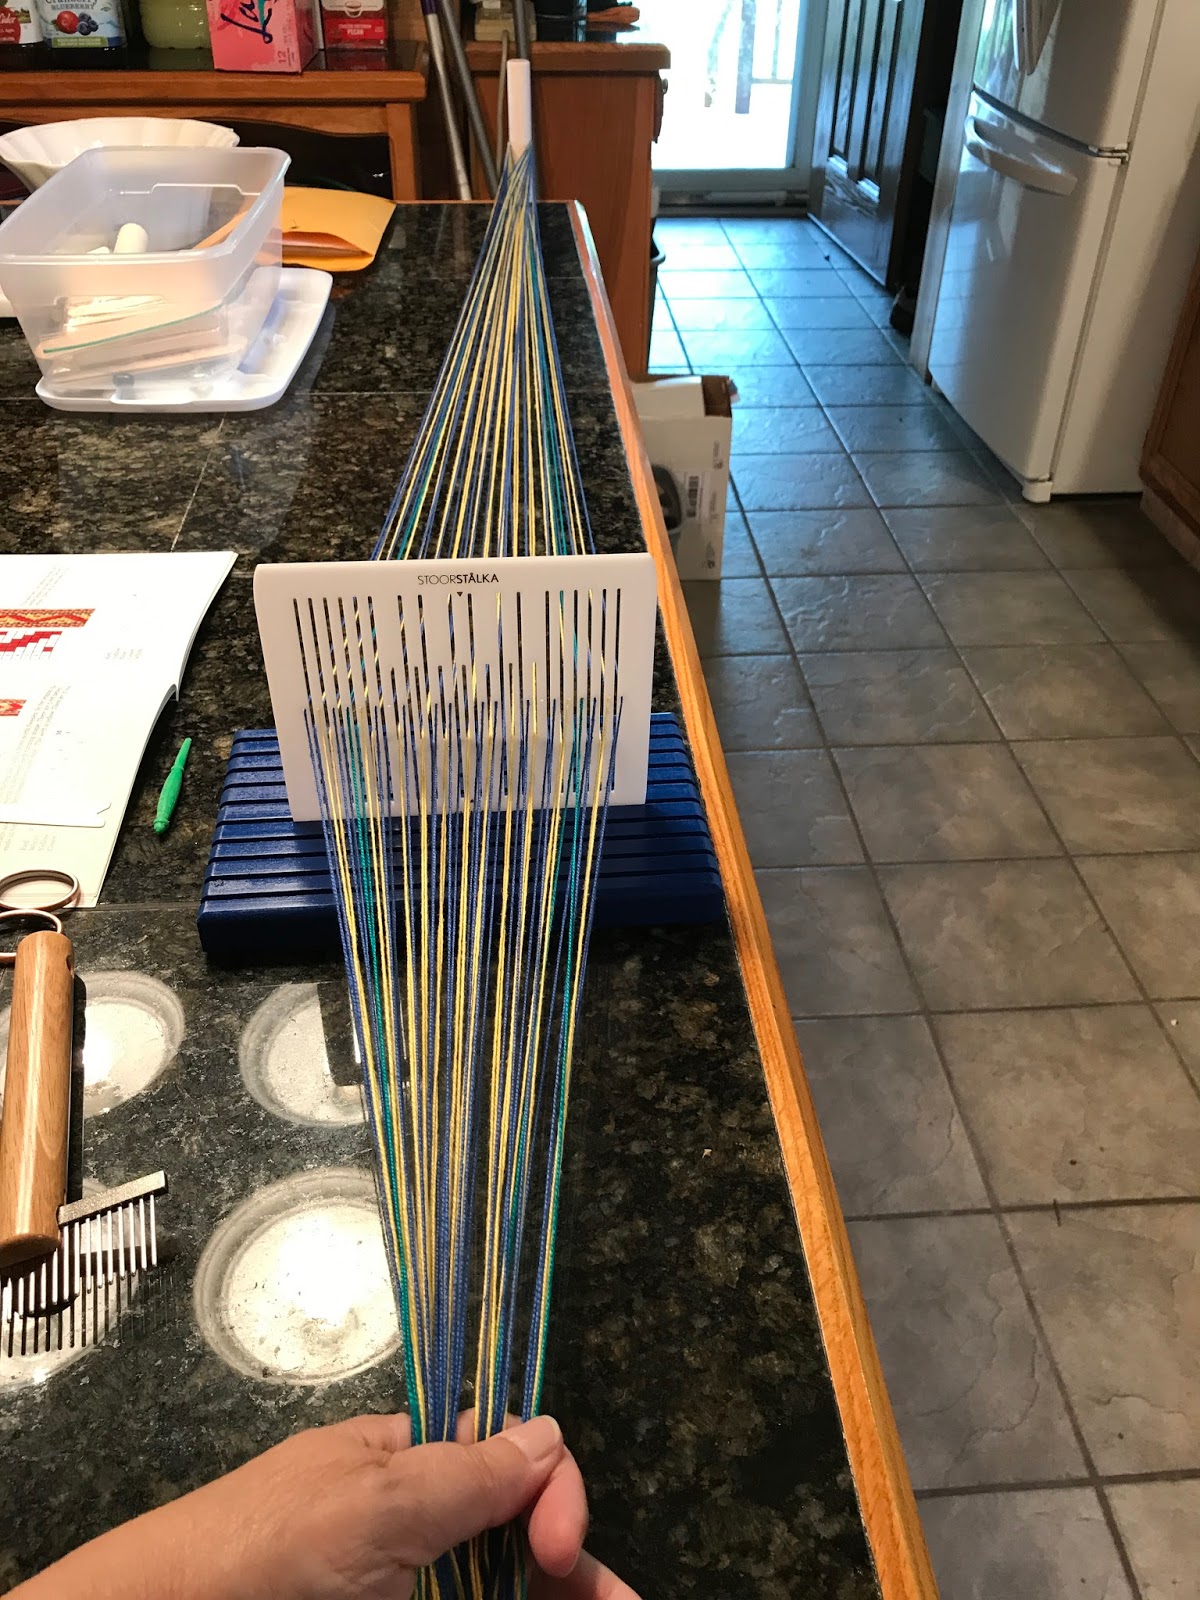
Dad made this cone holder for Mom years ago. It works great for warping at my kitchen island.
The length of the island gives me the size warp I want for my bands. I use a quilting ruler stand to hold my heddle in place. This one is from
Off the Wall Quilt. It works great for me! The warping pegs are from
TheKnitStore on Etsy.
I have a choice of threaders, which I use to pull the threads through the holes of the heddle. The top one is a dental floss threader. It works great in small places, but it's a bit hard to keep track of. The one with the green handle came with one of my other looms. The bottom one was a gift from Mom. I don't know if you can see, but it had a little loop at the end that helps keep the thread from falling out. This one's my favorite!
Unfortunately, my favorite threader was a little too big for this heddle. The one with the green handle worked well. I guess I'm a bit fussy with my threading. I've found that I prefer standing at the kitchen island for this part. At first, I would cut the threads on the peg to the left and then sit at the dining room table to finish the warping. I could never get the right angle, and my threads were constantly getting tangled.
Now I leave the threads on the peg and snip them one at a time. I'm able to easily pull back the thread that needs to go through the hole, and I can keep the threads at a fairly even length.
When I'm finished threading the holes, I like to slide the heddle all the way to the far end, then back. I can easily check my threading to make sure I didn't miss anything. It's a good thing I checked this time. I found three mistakes!
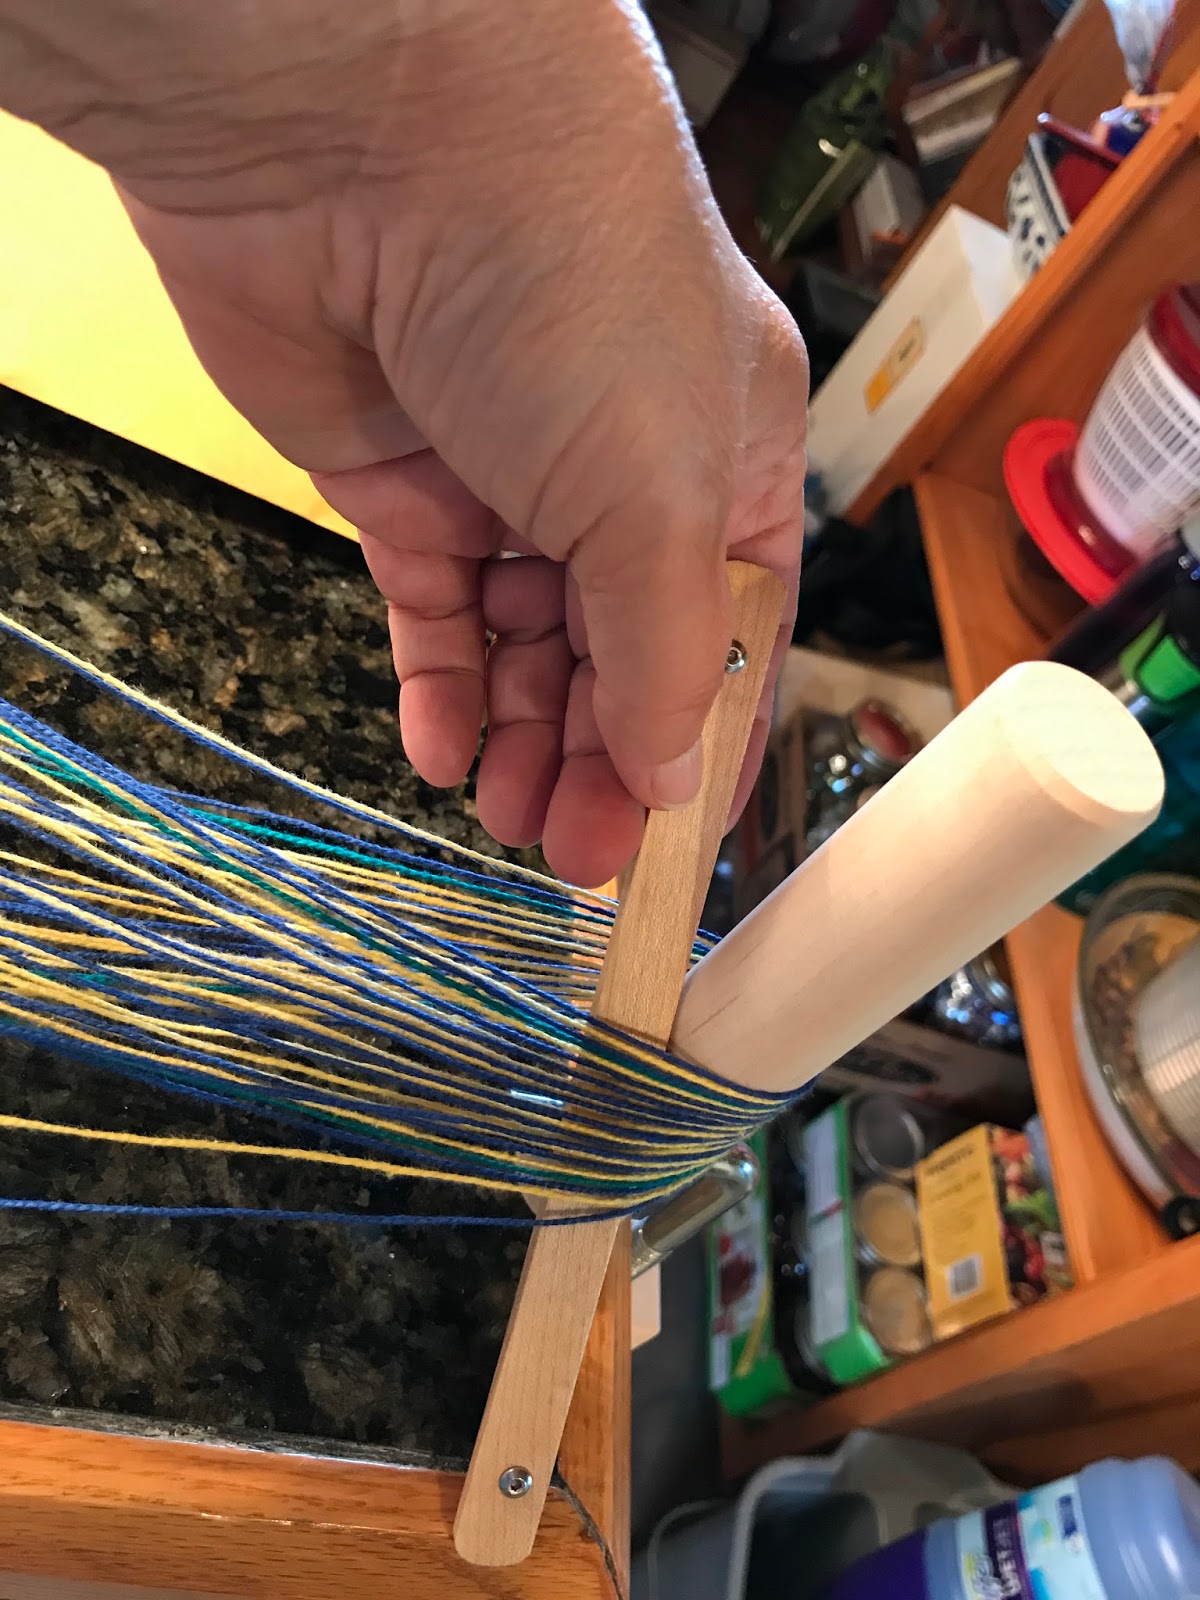
One of the adaptations Mom asked for was the addition of two sticks to attach to the metal rods. Gene Marino of HardMapleLooms came up with this solution. I add a little tie down on each side to keep them from popping off when I'm winding the warp. The first couple of times, I did not need these little tie downs, but I lost my touch and the sticks kept popping off. So to save myself some frustration, I just tied them down.
Here you can see the machine screws and how they align with the holes in the metal rod.
I snipped the ties off the back beam and took the stick to the far peg. It's easy to slide the end over the wooden stick and then place it on the back beam.
I've found that the quilt ruler holder fits nicely as a support for finishing up the warping process. I just slide my little brass hook between the metal rod and the tied down stick for tieing the threads at the front end of the loom.
Once I've checked everything to make sure it's the way I want it, I trim the ends and I'm ready to weave!
I've watched so many videos, read so many blog posts and books, and talked over ideas with my mom so often, I honestly don't remember where all my little tips came from. I use jumbo craft sticks to help spread my warp evenly.
The other adaptation that Mom had made for this loom was to add a bottom to it. I can easily balance the loom on my lap. It's a great place to keep my pattern!
The heddle I'm using is the Sunna7 from
Stoorstalka. Mom got me started with these, and I love them! The 7 pattern band I'm working on is from
Sami Band Weaving by Susan J. Foulkes. I chose to make the edging fancy, so it takes a bit of concentration to keep the pattern straight!
I'm pretty new to weaving, so if you're experienced and have any tips for me, I'd love the hear them!
SaveSave