Joanne and I tried very hard to record tatting that viewers could see, but we had no success. Either my little point and shoot camera doesn't have the capability, or Joanne and I are oblivious to the features on the camera. My guess is the latter!
After several failed attempts, Joanne suggested I take close-up pictures and explain my steps. So, here goes!

First, I lay the glass mat down and look at the way the stitches are going to lie. Here I'm getting ready to make my chain of 4 + 4. I'll be joining the chain to the center picot of the pink ring on the outer edge of the row of three rings above.

The chain is completed, and now it's time to reverse the work in order to make the next ring.

The fabric is in my way, so I fold it up and to the left, out of my way. I work my ring, joining to the last picot of the last ring...

and the next open picot on the row above.


The next chain is completed, joined to the second ring in the row above.

Again, I fold back the fabric so that I can see where to join.

I repeat the process one more time so that I have six rings in the final pass of the Spinning Wheel, and I need to remember to make a chain of 4 - 4 after the last ring.
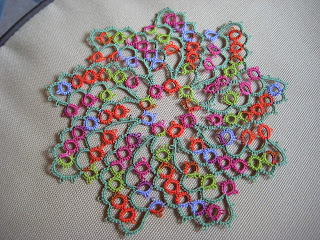
I cut the thread, leaving enough to join to the center ring, tie, and hide the ends. Now Ella's Spinning Wheel is ready for a final shot of steam, and I'm ready to start one for Lily!
I apologize for not having a video, but I hope my pictures are helpful to anyone trying this pattern for the first time. If anyone has a different way to finish this little doily, please let me know!
After several failed attempts, Joanne suggested I take close-up pictures and explain my steps. So, here goes!

First, I lay the glass mat down and look at the way the stitches are going to lie. Here I'm getting ready to make my chain of 4 + 4. I'll be joining the chain to the center picot of the pink ring on the outer edge of the row of three rings above.

The chain is completed, and now it's time to reverse the work in order to make the next ring.

The fabric is in my way, so I fold it up and to the left, out of my way. I work my ring, joining to the last picot of the last ring...

and the next open picot on the row above.

When the ring is closed, I am ready to unfold the fabric and reverse my work for the next chain.

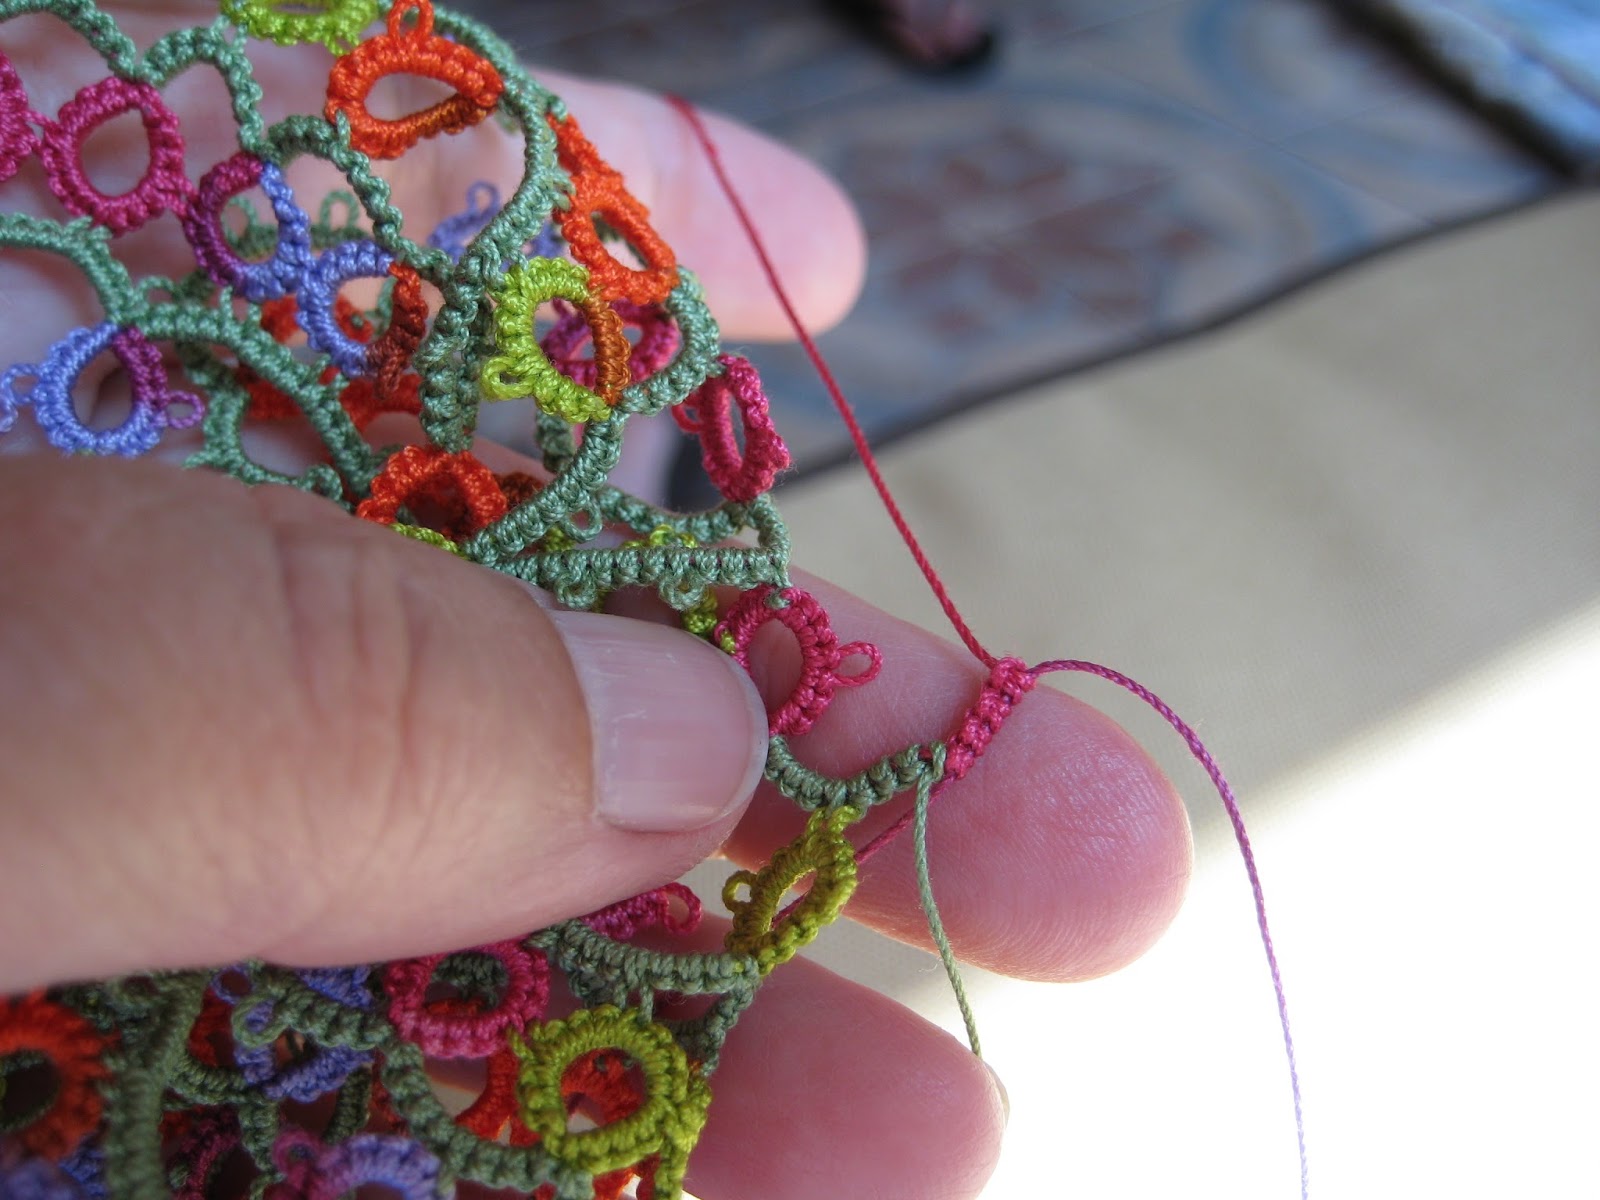
Again, I fold back the fabric so that I can see where to join.

I repeat the process one more time so that I have six rings in the final pass of the Spinning Wheel, and I need to remember to make a chain of 4 - 4 after the last ring.

I cut the thread, leaving enough to join to the center ring, tie, and hide the ends. Now Ella's Spinning Wheel is ready for a final shot of steam, and I'm ready to start one for Lily!
I apologize for not having a video, but I hope my pictures are helpful to anyone trying this pattern for the first time. If anyone has a different way to finish this little doily, please let me know!


