I don't know why it took me so long. I've seen the idea in many tatting books, but it took all this time for me to realize the benefit of having sample tatting pieces!

It took a question from a Facebook friend for the light bulb to come on. So, yesterday I tatted the back side of my basic Ice Drop in several sizes, all in size 20 thread. The top one has rings of 4-4-4-4 and chains of 6-6. The middle one is rings of 5-5-5-5 and chains of 7-7. The bottom one is rings of 6-6-6-6 and chains of 8-8.
I'll probably make one smaller one with rings of 3-3-3-3 and chains of 5-5 and one larger one with rings of 7-7-7-7 and chains of 9-9 just so I'm prepared!

With these samples on hand, I can choose a shank button or glass gem and decide which stitch count will work best before getting started. I don't know whether I should feel brilliant for figuring this out, or foolish because it took me so long!

I like using this back with shank button, because it helps disguise the shank. As you can see, the base of the each ring just goes over the edge of the button. I think this size will work out great!

Mom asked if I'm going to mount the samples to a piece of paper or card stock. I think that's a great idea, and once I have all my samples made I may do that. For now, I'll just tuck them into my little sewing tin that I carry in my tatting bag.

My Roly-poly bag from Jane Eborall is perfect for take-along tatting. Jane, are you still making and selling these? I know I have at least three. This one is my favorite!
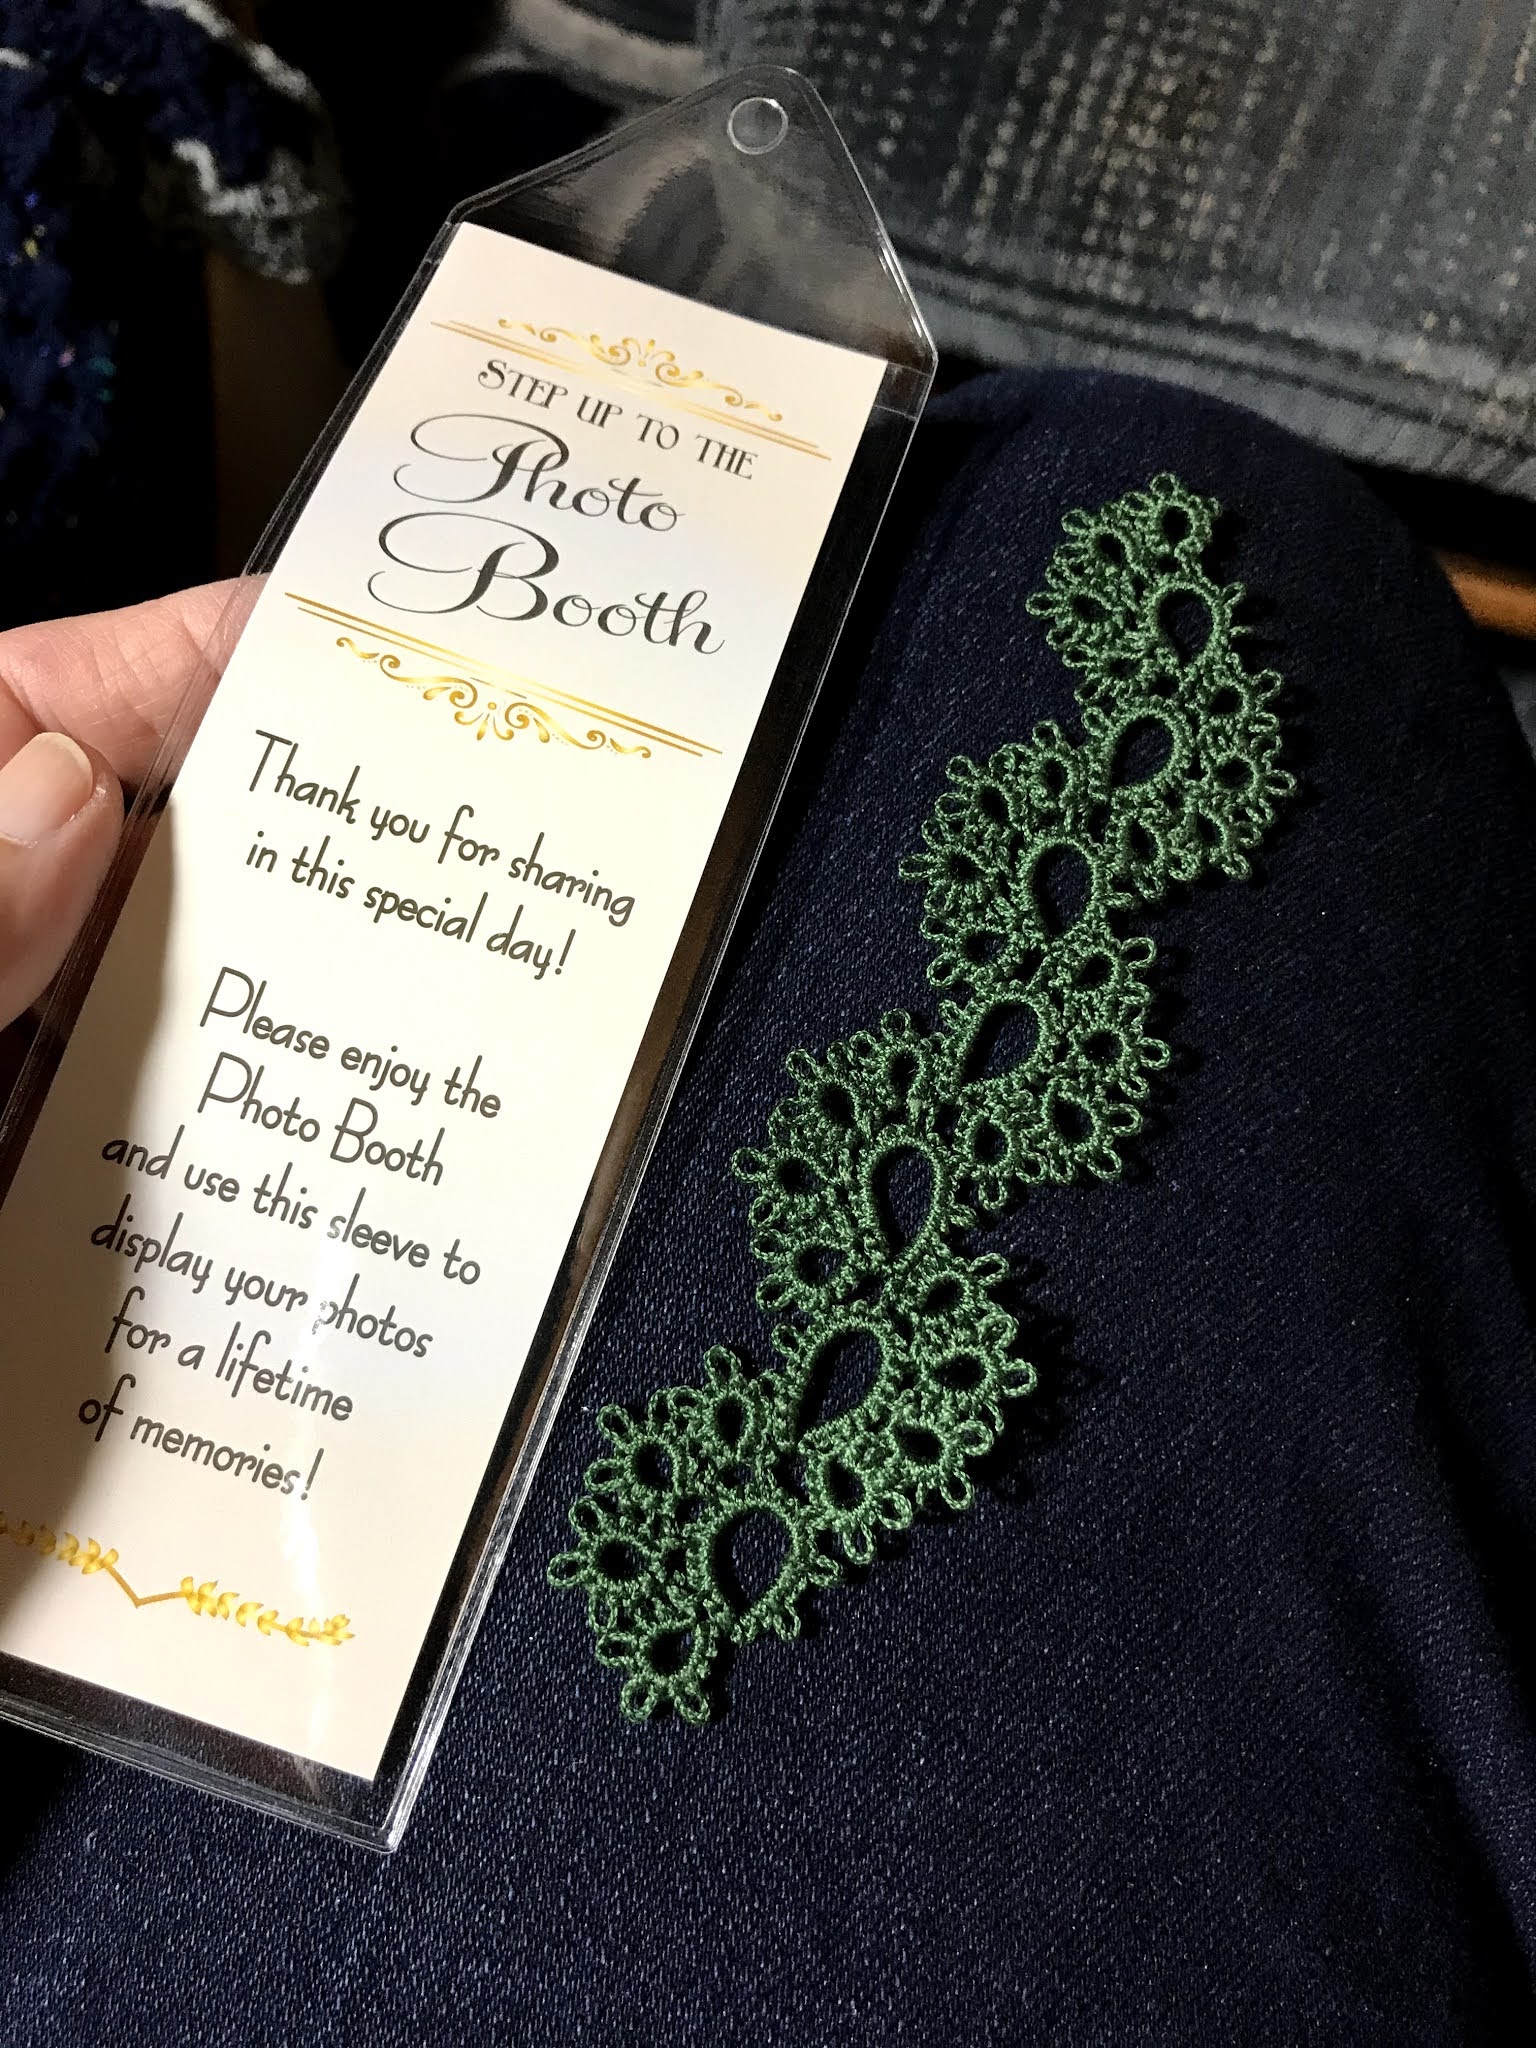
Another Facebook friend asked how I get my tatted bookmarks into the sleeves neatly. The sleeves come with a paper insert.

I pull the paper insert out part way and set the tatting on the paper. Then I gently slide the paper and tatting back into the sleeve. Sometimes this goes smoothly, and sometimes it's a bit fiddly. I'm not sure why!

When the tatting is close to where I'd like it, I start to gently pull out the piece of paper. With a little bit of tapping on the plastic, I can get the tatting to the exact spot where I want it to stay. I can then pinch the bottom of the tatting to hold it in place while I slide out the paper insert.

I add the tassel, and the bookmark is finished!
Your tatting samples are a great idea!! I think I would put a string tag on that has the stitch counts so I will know what each is every time I have to use it. Otherwise I would forget the stitch counts! ;)
ReplyDeleteEverything looks great!!! :)
I never would have thought of using a string tag. This is why it's important to share ideas!
DeleteBetter late than never, the samples are an excellent idea. Good question about how to get the tatting in the sleeve, thanks for explaining so clearly.
ReplyDeleteI agree, Jane... better late than never!
Delete